

Usually when it comes to develop Single Page Application (SPA) we choose GWT. For simple apps we use native components, GWT-Bootstrap or custom components created with DOM utils. For Enterprise applications we don’t risk and go with GXT.
GXT is well done components library by Sencha for GWT that looks and behaves like their flag product – ExtJS. In this article we will leave Java world and for a while we will check how to create SPA applications in JavaScript with ExtJS.
For our purpose I will show how to develop simple application for Bids using Netbeans that has amazing support for many JS libraries included ExtJS.
#Prepare Netbeans project
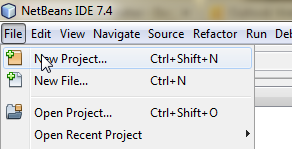
Create new project:
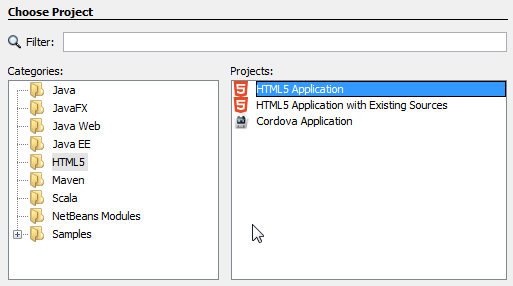
Create HTML5 project:
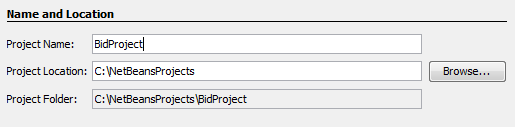
And call it BidProject:
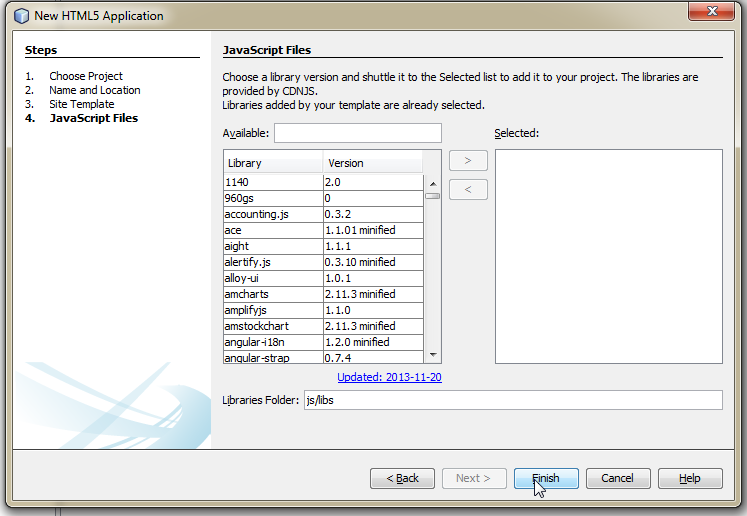
Next use empty template:
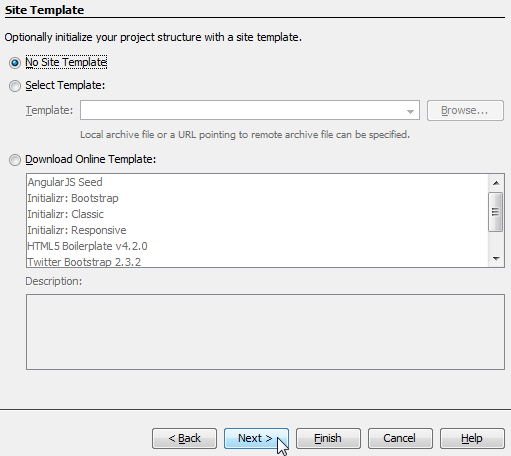
Don’t add existing ExtJS as you will find only version 3.4.1. Netbeans uses external CdnJS service that allows to shuttle JS libraries to the project:
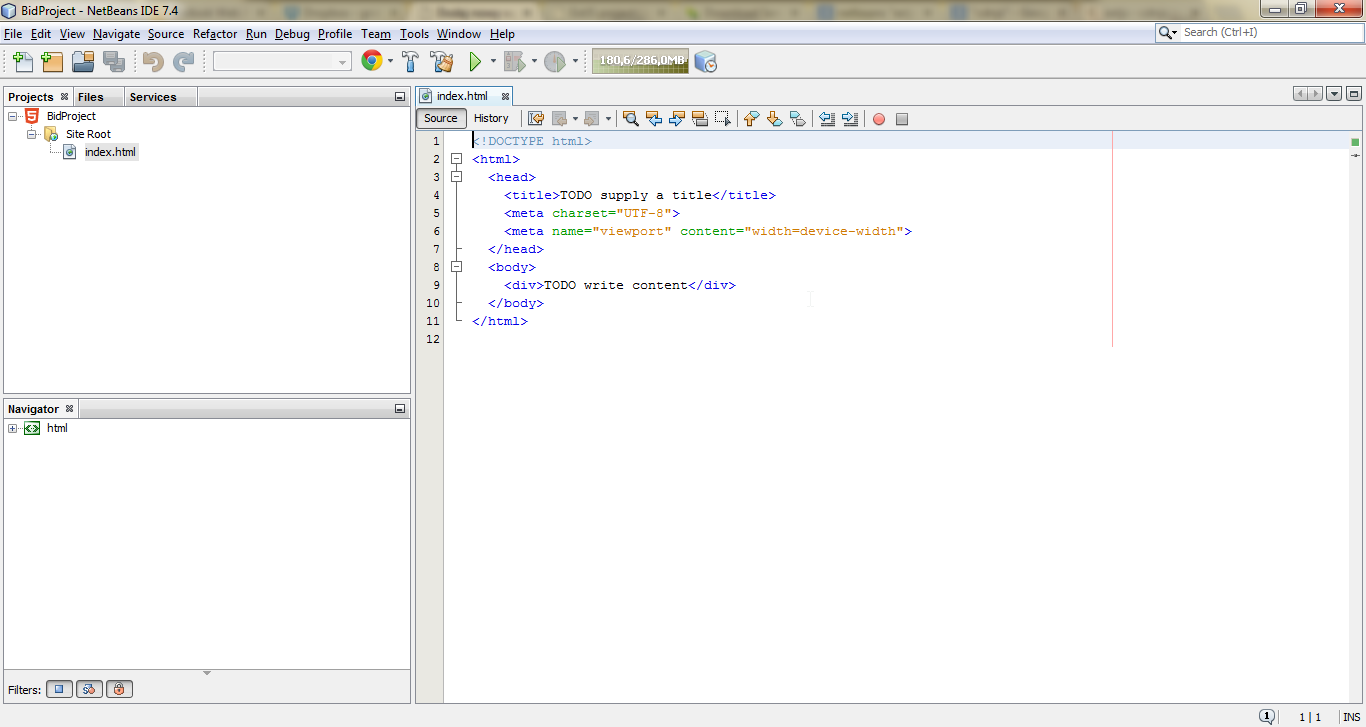
The project now is ready:
#Add ExtJS library
Download the latst ExtJS library from here: http://www.sencha.com/products/extjs/download/. In our case it is ExtJS 4.2.1. Remember that ExtJS has dual license and for commercial project you must buy license.
Lets prepare project structure:
- Extract file and copy resources to public_html folder of the project
- Put ext-all-debug.js to extjs folder inside public_html folder
- Create app folder inside public_html folder
- Create empty file app.js inside public_html folder
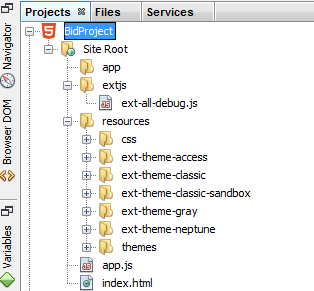
- The structure should look like this:
Now we need to add ExtJS and prepare an Entry point of our application:
Edit index.html and add ExtJs styles and library:
<!--ExtJS-->
<link rel="stylesheet" type="text/css" href="resources/css/ext-all.css">
<script type="text/javascript" src="extjs/ext-all-debug.js"></script>
next add entry point to the page:
    <!--EntryPoint-->
    <script type="text/javascript" src="app.js"></script>
Entire index.html should look like this:
<!DOCTYPE html>
<html>
  <head>
    <title>BidProject</title>
    <meta charset="UTF-8">
    <meta name="viewport" content="width=device-width">

    <!--ExtJS-->
    <link rel="stylesheet" type="text/css" href="resources/css/ext-all.css">
    <script type="text/javascript" src="extjs/ext-all-debug.js"></script>

    <!--EntryPoint-->
    <script type="text/javascript" src="app.js"></script>

  </head>
  <body>
  </body>
</html>
Now we add sample content to Entry Point that we could see first results. Edit file app.js and add following content (don’t worry I will explain everything latter):
Ext.application({
  name: 'Bidder',
  appFolder: 'app',
  launch: function() {
    Ext.create('Ext.container.Viewport', {
      layout: 'fit',
      items: [
        {
          title: 'MainContainer',
          html: 'Hello, world'
        }
      ]
    });
  }
});
We are done now with configuring ExtJS
#Deploy and run application
From the toolbar menu choose destination, where you would like to preview application (in my case embedded browser that is the best for fast prototyping):

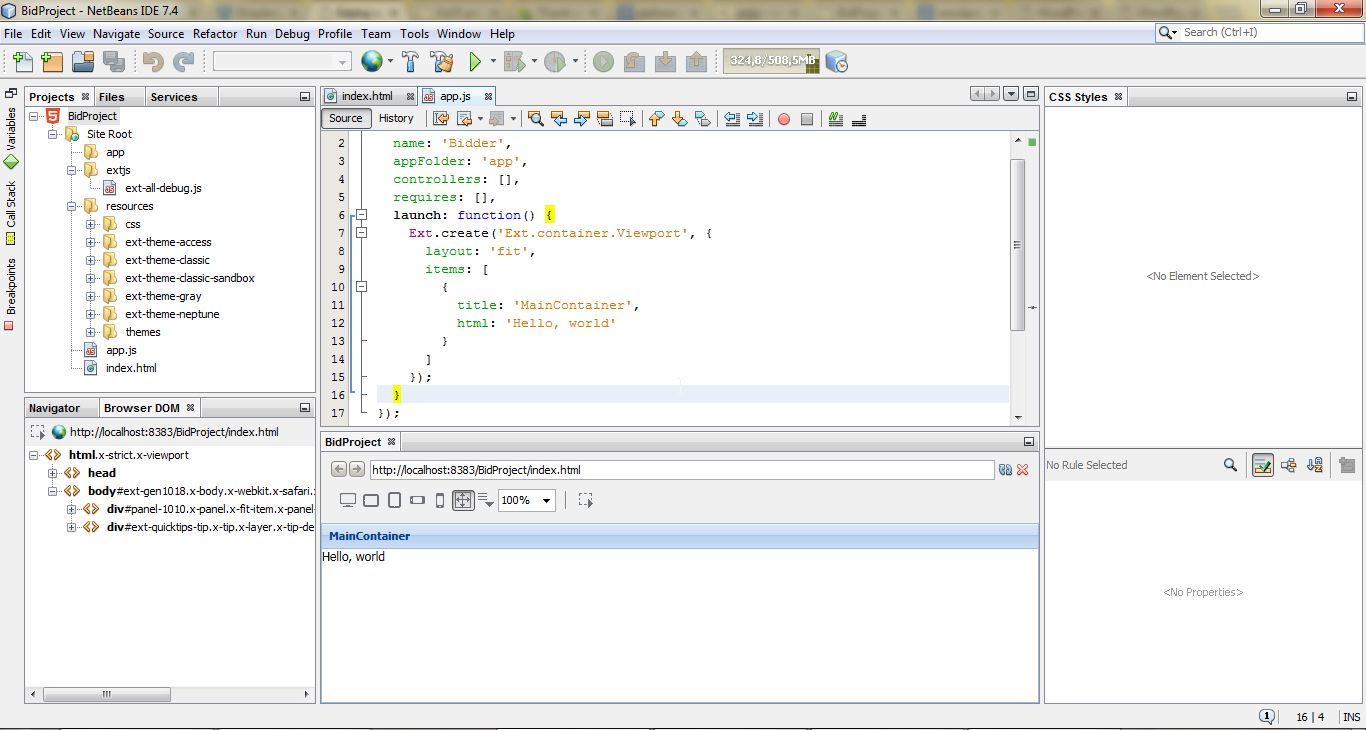
Then on toolbar press play button  to run server. Results will be displayed below the code:
#Entry point
Now let’s explain some parts of Application Entry Point (app.js):
To configure application you need to pass configuration object to Ext.define function:
Ext.application({});
Basic configuration contains:
- name: ‘Bidder’ – application name, it will be used latter as a prefix for namespace
- appFolder: ‘app’ – folder of the application components that will develop as our application grows. We will keep there our Views, Models, Controllers, Stores in package like (hierarhical) folder structure.
- launch – this is method (function) that will be called when application is ready to be initialized
When application is being initialized following code is being executed:
Ext.create('Ext.container.Viewport', {
      layout: 'fit',
      items: [
        {
          title: 'MainContainer',
          html: 'Hello, world'
        }
      ]
    });
This code creates Viewport. This is a container that fills whole widow body space and resizes when the size of the window changes. This is also unique container that adopts automatically to the body if no components are attached to the page body yet.
Containers are components that can contain many other components like Panels, TabPanels, AccordionPanels. Child elements are defined as objects of items array. They can lay inside the container according to the layout defined by layout property.
In our case Viewport has single panel that lays inside in fit manner. By default if the object doesn’t have defined type it renders Panel component that has title and html properties.